Table of Contents
Many newbies who are not aware how search engine work and how Google result show your website automatically in search.
Even few people think that they need to pay few bucks to show their website in search result . But actually we need to help and provide data to Search engine like Google and Bing to know about our blog and that data is nothing but XML sitemap.
Creating a XML sitemap helps Google, Bing & other search engine to better crawl and categorize your site. If you are not aware how to create sitemap then please go through this article How to create wordpress sitemap using Yoast SEO plugin.
Here we will see how to submit XML sitemap to Google and google it’s actually Google’s Search console.
Google search console (Formerly Google Webmaster Tool ) is free tool which help us to get index our blog in google search and also helps you to improve the crawling rate of your blog.
But before start Let’s know what site map exactly and how it help us in indexing.
The Word ‘Sitemap’ itself says it’s map of website.
A sitemap is an XML file that contains all the URLs of the pages inside your blog. So this file help crawler to find all of the URLs of your blog at one place. This file not only contain URL but also their modified date and by submitting site to search engine to let them know about all the pages of your blog.
There are many online tool available to generate sitemap but for WordPress blog we generally prefer plugin and mainly SEO plugin call Yoast SEO. Plugin help us in updating xml automatically as we publish the new post.Now let’s see submitting sitemap to Google search console.
How to Submit sitemaps to Google Search console
This process is divided into 2 part, in first part we will see how to verify your site with Google Search Console and in second part we will submit sitemap to Google Search Console.
So let’s start with verifying site with Google Search Console:
Sign in to Google Search Console by using the same information you use to sign in to Google Sites and click on Add a property as below.

If you have already submited any website before then you will see below screen so click on add a property button. Enter the URL of your webSite in the box that pops up, then click “ADD “.
Once you add then you will be redirected to other page to Verify your ownership of the submitted website. You have to follow all the given steps to get verified your site.
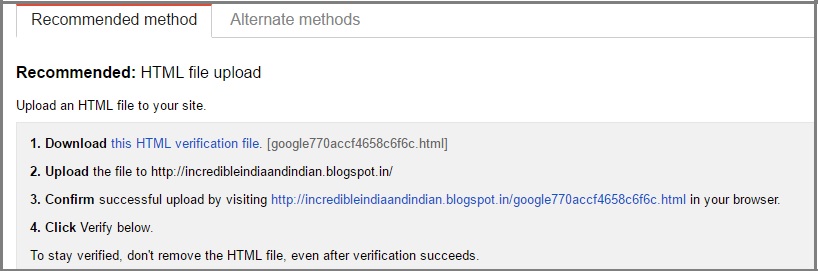
If you have a lot of related sites then you can choose the domain name provider option or other options from the Alternate methods tab.
So hopefully by following the above steps you have verified ownership of your website. Now we move to the second process.
Submit sitemap to search console
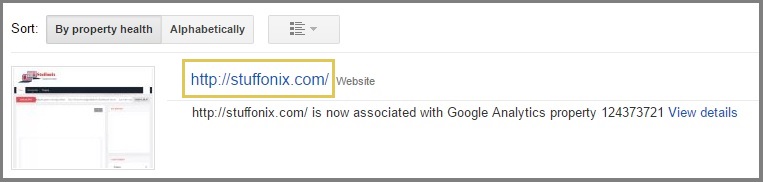
On your Search Console home page, click on your site for my case I am clicking on http://stuffonix.com as below.
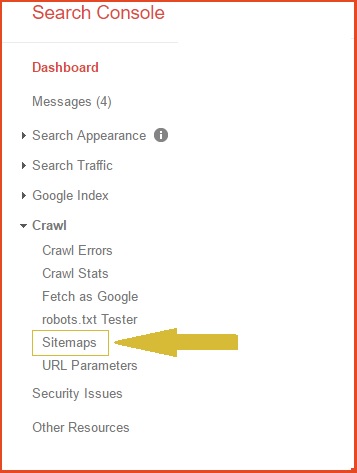
Now In the left sidebar, click crawl and then Sitemaps as shown below.
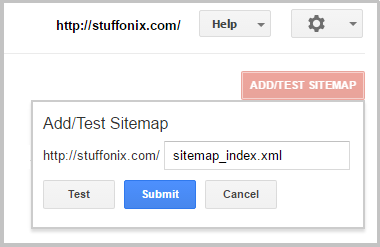
Now you can see option to add or test sitemap so click on that button . So here you need to put your XML sitemap’s location into the text box and click on submit button.
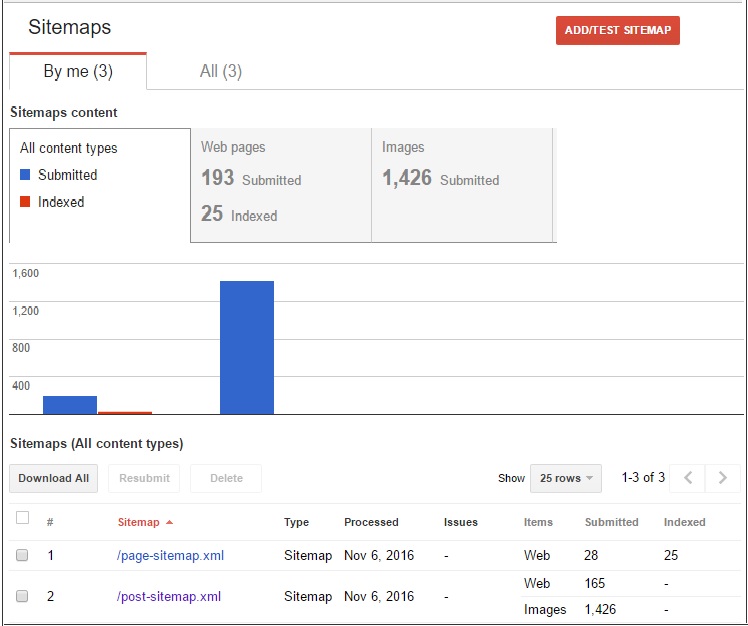
Refresh the page.
Congratulation! You have finished the process of submitting sitemap to search console.
Once you verified the site then you can directly submit your sitemap by using the below links.
http://www.google.com/ping?sitemap=Your sitemap
http://www.google.com/webmasters/sitemaps/ping?sitemap=Your sitemap
http://www.bing.com/webmaster/ping.aspx?sitemap=Your sitemap
http://submissions.ask.com/ping?sitemap=Your sitemap
At last!!
Hopefully, you have submitted the sitemap in the Google search console by using this step by step guide and it will surely help your site to be indexed. If you find any doubt in this post then please write to us in the comment.


